Schematic Annotations
Annotations are elements that can be placed on the schematic that do not alter the behaviour of a circuit, but give a method of adding additional descriptions for someone using the schematic or understanding the design. There are four core annotation types: lines, shapes, images and text. Additionally there is also a title block annotation that allows for marking title and authorship information about a schematic.
In this topic:
Line Based Annotations
There are two types of line annotations available: lines and arrows. These can be placed through the and New Arrow menu options.
To place a line based annotation, use the menu link, then click on the schematic where you want the annotation to start and drag to where you want the annotation to end. The annotation can be moved by clicking on the annotation then dragging it. One end of the annotation can be moved by rectangle selecting one end, so that a cross is shown on the annotation like in the figure below, then clicking on the cross and dragging it to where you want that end to now be placed.
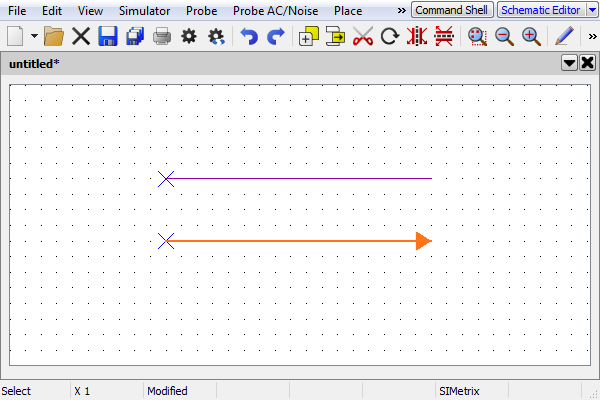 |
A partially selected line and arrow annotation. The cross marker on the left hand end of each shows that only the left part of the annotation is selected. |
All line annotations can be rotated and mirrored using the appropriate tool buttons.
Shape Based Annotations
There are several shape based annotations available, such as rectangles and ellipses.
All shape annotations follow the same rules when placing them on the schematic. After selecting the annotation from the menu, click on the schematic where to start drawing the annotation, then drag and release where the annotation should be ended. A preview of the annotation will be shown as you do this. For non-rectangular annotations, the annotations are drawn within a bounding rectangle.
By clicking on the line of a shape you select the whole annotation, as shown in the figure below of a fully selected rectangle annotation. The annotation will display in the selected style, but will also have four dot markers, one on each corner. These dot markers show which corners are selected and will move with the cursor if dragged. If all four markers are shown then it means the whole annotation will move if dragged.
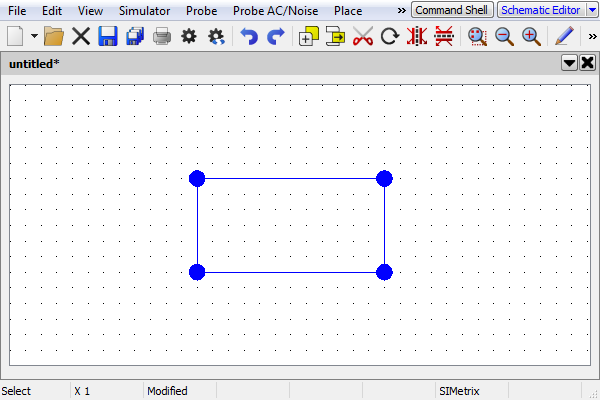 |
A fully selected rectangle annotation. The dot markers on each corner show that the whole annotation is selected. |
Shape annotations can be resized by dragging the corner or side of the shape that you want to resize (in the case of non-rectangular shapes, you resize the bounding rectangle). The directions that the resize can occur on, depend on the corners selected, examples are shown in the following two figures. To select a single corner or two adjacent corners, use the rectangle selection method and ensure the corners you want to select are within the rectangle. Then to resize, click and drag on one of the dot markers.
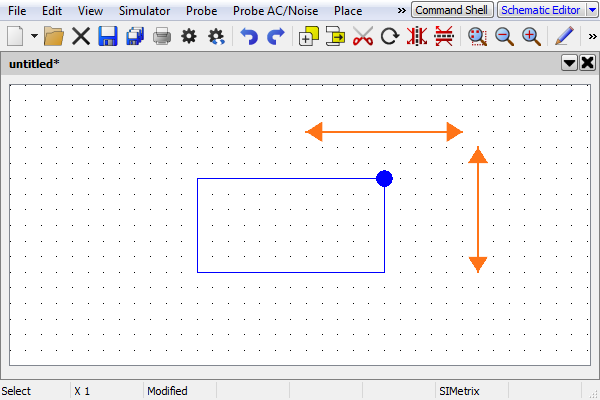 |
A partially selected rectangle annotation with one corner selected. The dot marker on the top right corner shows that only the top right corner of the annotation is selected. The arrows show the directions of movement that can be made by dragging this marker. |
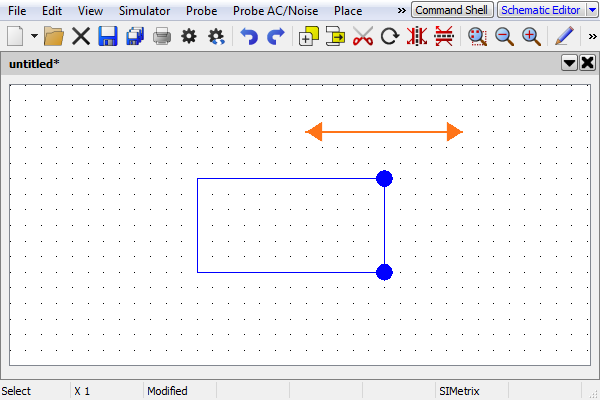 |
A partially selected rectangle annotation with two corners selected. The dot marker on the top right corner shows that the entire right side of the annotation is selected. The arrows show the directions of movement that can be made by dragging this marker. |
Text can be added to shape annotations, as shown in the figure below of a rectangle with text content. To add text to a shape annotation, either double click on the annotation or select the annotation and go to menu . This will open a dialog to which you can enter your text. The text will appear in the annotation with the line formatting given in the text box. If you enter text that is too large to fit the annotation, the annotation will resize to fit the text in.
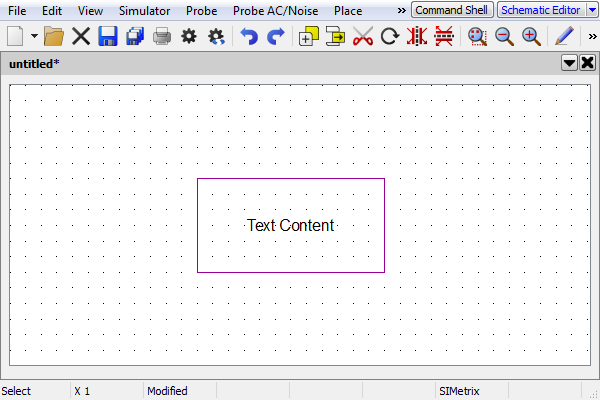 |
A rectangle annotation with text content. |
When text is added to an annotation, clicking anywhere within the annotations shape will cause the annotation to be selected. Without text, only the edge of the shape is selectable.
With multiple lines of text, the justification of the text can be changed. The available justifications are: Left-Align, Centered and Right-Align. These can be changed by selecting the annotation, then going to the menu and selecting the alignment required.
The available shapes are: Ellipse, Octagon, Rectangle, Rhombus, Rounded Rectangle and Triangle. An example of each of these, all shown fully selected, is given in the figure below showing all available shape annotations.
 |
Available shape annotations, all fully selected. The dot markers for non-rectangular shapes extend outside of the shapes bounds, to an imaginary bounding rectangle. Different colours are used to easily identify the ownership of dot markers to annotations. |
All shape annotations can be rotated and mirrored using the appropriate tool buttons.
Image Annotations
Images can be placed within schematics by either dragging the image into the program from an operating system folder, pasting an image in the clipboard or using the menu and choosing a file.
Once in a schematic, the image will be initially resized to a size that is proportional to schematic components and attached to the mouse. You place the image by clicking on the schematic where you want the image to be.
The image can later be moved by clicking and dragging on the image and resized using the same dot marker system used in Shape Annotations.
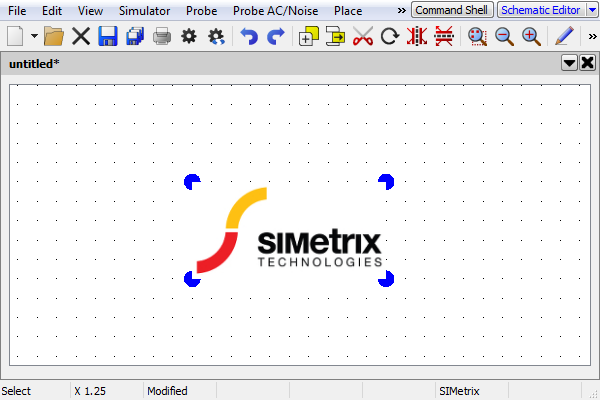 |
An image annotation, which has been selected with dot markers visible. |
Warning About Images
Whilst images are scaled visually within the schematic, they will not be compressed in terms of their data content. When saved, images are converted to a text based representation, which will often be larger in size than their native format. Using too large an image therefore may make schematic files excessively large. Images added to a schematic should therefore be scaled to a suitable size before placing them into SIMetrix.
Additionally, as images are scaled using a fast scaling process when drawing them to the screen that do minimal anti-aliasing (removal of jagged lines), some images may produce poor looking results when scaled even when shrinking a large initial image. If the image looks poor when placed in a schematic, try resizing the image in an external image editor then add it back into the schematic.
Text Annotations
Text annotations can be added separately using the menus or . These two menu options produce text using two different styles, both of which can be changed through editing the styles.
Alternatively, text can be copied from elsewhere and pasted directly onto the schematic.
Title Block
Title block annotations present information about a schematic such as title, authorship, version and notes, as shown in the figure below. The annotation takes the provided information for these and automatically resizes itself to fit the content correctly.
To create a title block, use the menu , which will open a window asking for schematic information. The information provided here will be placed into the title block annotation in the same line format as given, so you may need to add line breaks if necessary.
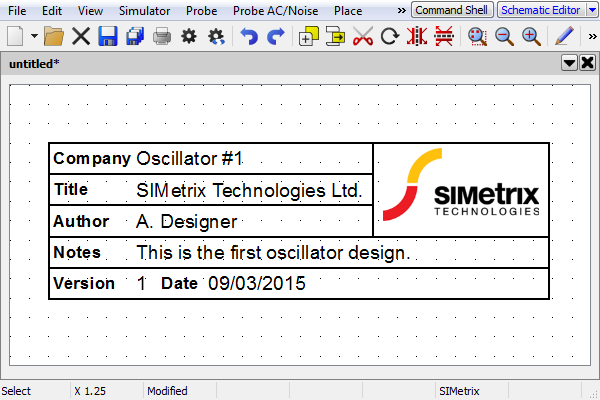 |
A title block annotation in the horizontal layout. |
The Company Name, Author and Logo fields can have their values set as default, so that for all title blocks they will appear automatically. The Version and Date values can be set manually or have an auto value assigned. If auto values are selected, they will be set when the schematic is saved.
There are two layouts for the title block: horizontal and vertical. The horizontal layout provides a more detailed title block, with title and author information, notes, version information and a logo picture. The vertical layout is a less detailed layout and only shows the title, authorship and version information.
If an image is used, care should be taken to ensure that the image is not too large. More information can be found in the Image Annotations section.
| ◄ Hierarchical Schematic Entry | Schematic Styles ▶ |